2014년 9월 17일 수요일
2014년 7월 18일 금요일
2014년 7월 10일 목요일
V-form
Face Forming & Skin Care at a time
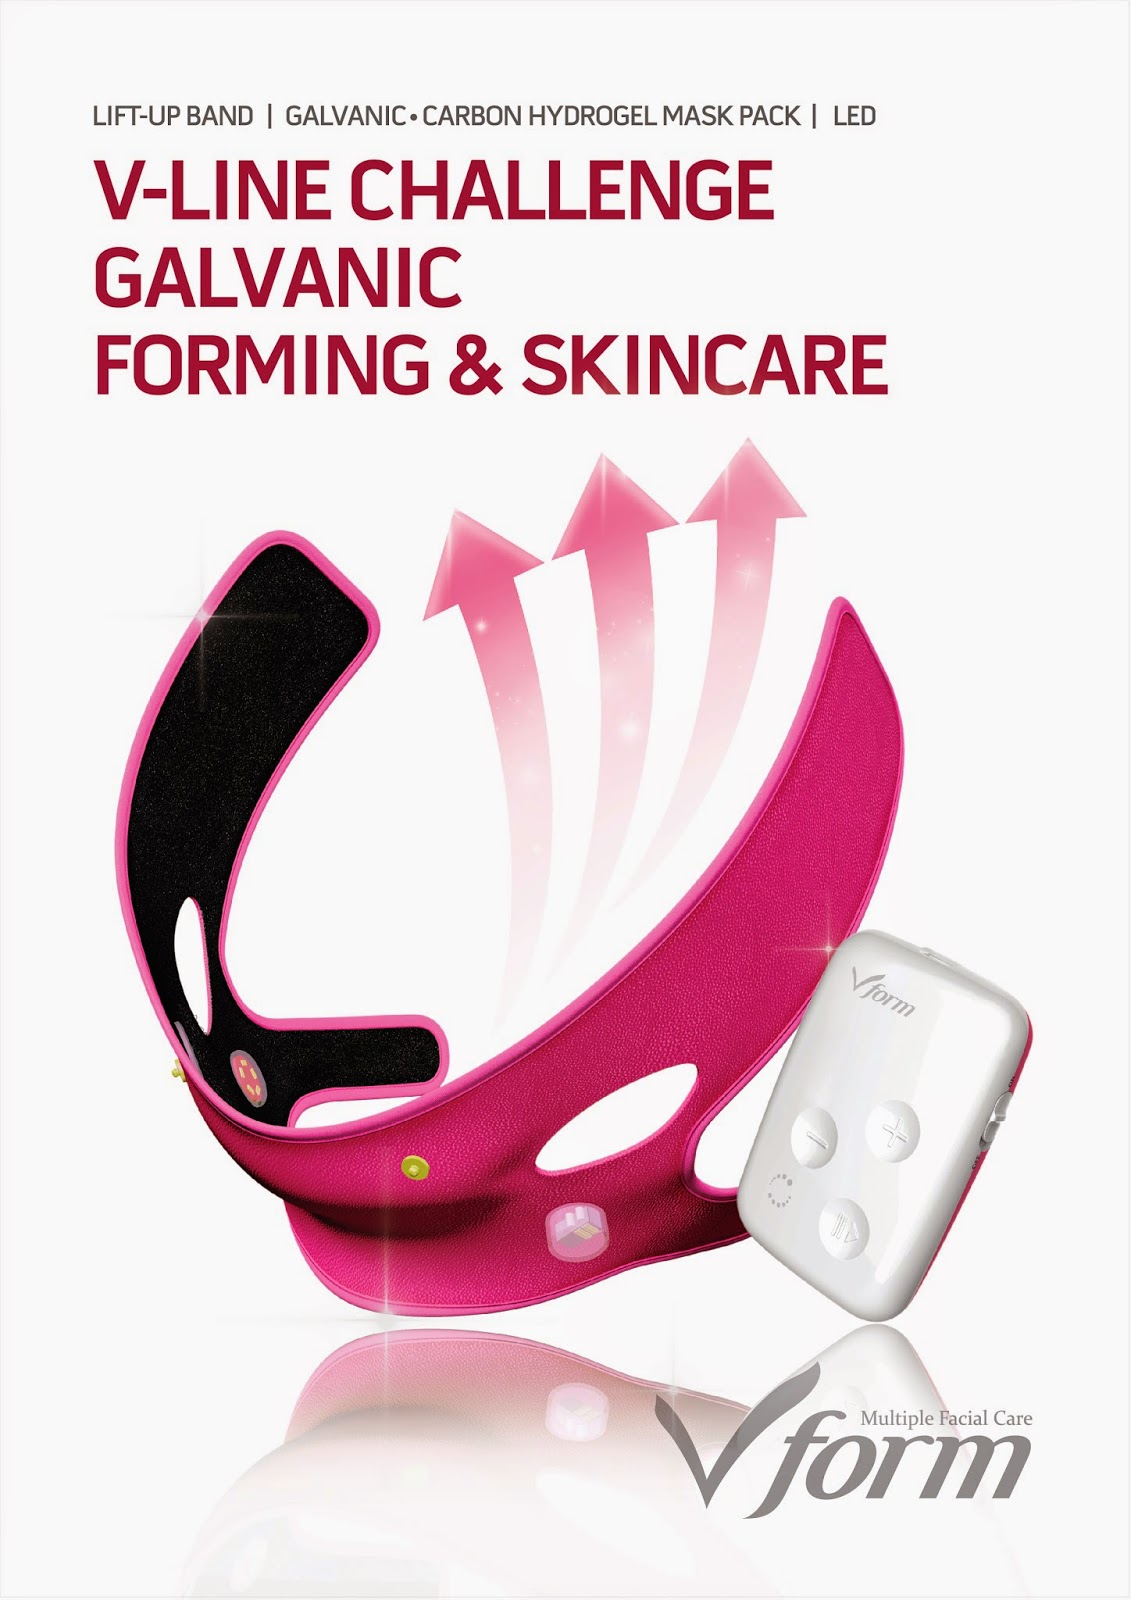
MULTIPLE FACIAL CARE V-FORM
Easy-to-use, versatile V-Form can be easily used by
anyone who has sagged and distorted face line for firming and pulling out the
skin.
This SPECIAL HOME CARE SYSTEM makes V-line with no
chemical methods. Caffeine which works excellently for slimming is delivered
deep into the skin by Iontophoresis black mask pack.
Moreover, 630nm LED mounted on the band leads lymph
circulation to help eliminate waste, lessen the swelling and make skin elastic.
THREE EFFECTS
Vivid!
Elastic! Healthy!
Three-dimensional line with Triple effects
1. Face Forming
It
reforms disheveled face line by giving continuous physical pressure to the
reverse direction of sagged face.
2. Solution
penetration
Ingredient
in the mask can be delivered to the skin deep with Ionto function.
3. Lymphatic
circulation
630nm
LED leads lymph circulation to help eliminate waste, lessen the swelling and
make skin elastic
2014년 2월 10일 월요일
How to use Pepbu:w
How to use Pepbu:w
1. Fraxel/
IPL/Toning + Pepbu:w
After Fraxel, IPL
or Nd yag
laser
apply 2.5m of Pepbu:w and
penetrate it with Cryo-Electroporation.
It reduce
febrile reaction and PIH risk and accelerate
skin regeneration
2. Mesotherapy
+ Pepbu:w
Make
micro holes on the skin with Auto stamp
needle(Tri-M) and apply Pepbu:w
3. Whintening
&
Lifting
4. Alopeica Treatment
Stimulate Scalp with MTS and apply Pepbu:w
* Precautions *
1.
Store it in the Refrigerator (Expiry date
:2 years)
2.
Once you open the cap, please use it within 1 week.
3.
Do not use it, if you observe red spots on your face.
4. Do
not use it for sensitive skin and acne skin.
2014년 2월 6일 목요일
How to use D-Cam
How to use D-cam (Skin Diagnosis)

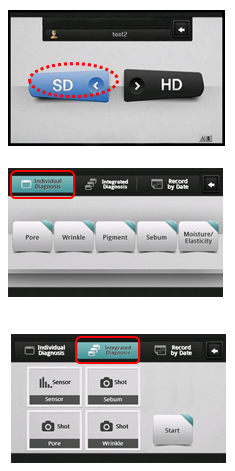
<Skin> Diagnosis
Diagnose
every part of pore, wrinkle, pigment,
sebum, moisture / elasticity step by step.
◈ Individual Diagnosis ◈
 you can see the measured value of the part.
◈ <Pore> Diagnosis result ◈
 *** Once you have finished diagnosis for Moisture / Elasticity / Pore / Wrinkle / Sebum / Pigmentation, you can see the overall result ***
◈ Result page ◈
How to use D-cam (Hair Diagnosis)
◈ HD Diagnosis ◈
◈ Result page ◈

Here's a brief example of how to use D-cam
<SD>
BUTTON
Moisture
/ Elasticity / Pore
/
Wrinkle / Sebum / Pigmentation
Click
‘SD’ to start skin diagnosis.
◈ Individual Diagnosis ◈
Select
certain test among pore, wrinkle, pigment, sebum, moisture / elasticity and
diagnose separately.
◈ Integrated Diagnosis ◈
◈ Individual Diagnosis ◈
Click
‘Individual Diagnosis’
<Pore> diagnosis
1) Click ‘Pore’ to measure pore condition.
2) put camera on the skin and click ‘shot’
** Click <Shot> to re-take a photo.
The
test value will be shown automatically
at
the bottom of left.
Manual
measurement
** Click pore part colored with green.
 you can see the measured value of the part.
 ◈ <Pore> Diagnosis result ◈
3) Click ‘Result’ button.
<Do you want to save the test
result?>
4) Select ‘Yes’ or ‘No’
5) Move to result page.
 *** Once you have finished diagnosis for Moisture / Elasticity / Pore / Wrinkle / Sebum / Pigmentation, you can see the overall result ***
◈ Result page ◈
Result 1
-Skin age(Optional)
-Result graph
- intensive skincare zone,
**
Touch the screen with a finger and drag
upward
to move to the next page
Drag
downward to Move back to the preceding page.
Result 2 :
- Skin type and description
Result 3
-Compare the customer’s skin with
standard (ideal) skin image.
-
Skin status simulation
Current status: current skin condition.
Without treatment: If the skin is left
untreated,
the skin condition may worsen than its
current
state.How to use D-cam (Hair Diagnosis)
◈ HD Diagnosis ◈
Diagnose Scalp Type / Hair Density / Sebum / Hair Loss /
Hair Damage / Hair Thickness
Put the camera on your scalp and
take a photo
to measure.
Select certain test item and
diagnose separately.
1) Click ‘Scalp type’ to diagnose
scalp type.
2) Put camera on scalp and take a
photo by clicking ‘shot’.
** ** Click <Shot> to re-take
a photo.
3) Click ‘compare’ and select
similar sample.
4) Click ‘OK’ and ‘Result’ to go to
result page.
◈ <Sebum> Diagnosis ◈
1) Click ‘Sebum,’ to diagnose
Sebum.
2) Put camera on scalp and take a
photo
by clicking ‘shot’.
** Click <Shot> to re-take a
photo.
the test value will be shown
automatically
at the bottom of left.
3) Click ‘Result’ to go to result
page.
◈ Integrated Diagnosis ◈
1) Select the most similar type of
when you see
the scalp at top position.
2) Click ‘Next’.
3) Put camera on hair and take
a
photo by clicking ‘shot’.
** ** Click <Shot> to re-take
a photo.
4) Click ‘compare’ and select
similar sample.
5) Click ‘OK’ and ‘Next’.
• Hair Thickness uses the image of
Hair Damage.
1) If you want to re-take a photo, Put camera on scalp and take a
photo by clicking ‘shot’.
2) Drag a hair and check thickness.
3) Click ‘Result’.
<Do you want to save the test
result?>
4) Select ‘Yes’ or ‘No’Move to result page.
*** Once you have finished diagnosis for Scalp Type / Hair Density / Sebum / Hair Loss /Hair Damage / Hair Thickness you can see the overall result ***
◈ Result page ◈
Result 1
- Result graph
- intensive skincare zone,
Result 2 :
- Result of each test
Result 3,4,5,6,7,8,9
- Specific description of each result
피드 구독하기:
덧글 (Atom)


